by Wessel Wessels | Sep 14, 2019 | General
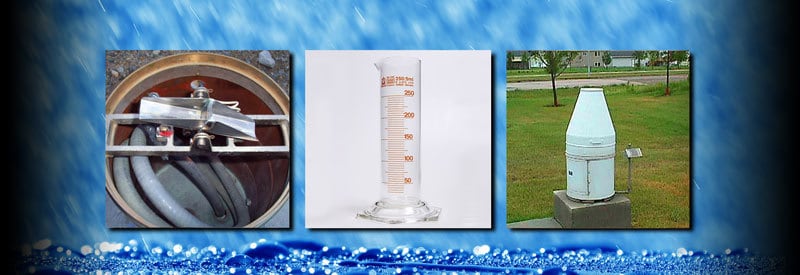
Rain Gauges – What They Are, How They Work, And The Different Types Rain Gauges – What They Are, How They Work, And The Different Types Rainfall measurement is a practice that communities have been following for centuries throughout the world. The device used for...
by Wessel Wessels | Sep 9, 2019 | General
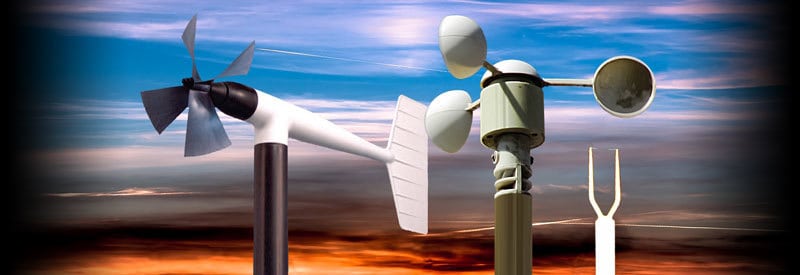
Anemometers – What They Are, The Different Types, And How They Work Anemometers – What They Are, The Different Types, And How They Work Most meteorological instruments work hand in hand with each other to determine current and predict future atmospheric conditions....
by Wessel Wessels | Sep 6, 2019 | General
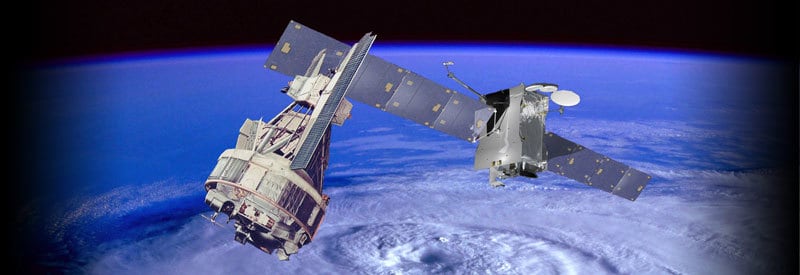
Defining A Weather Satellite – What It Is And How It Works Defining A Weather Satellite - What It Is And How It Works More than 8 000 man-made satellites currently orbit Earth, of which 4 853 are still active. They serve a wide range of purposes, including studying...
by Wessel Wessels | Sep 1, 2019 | General
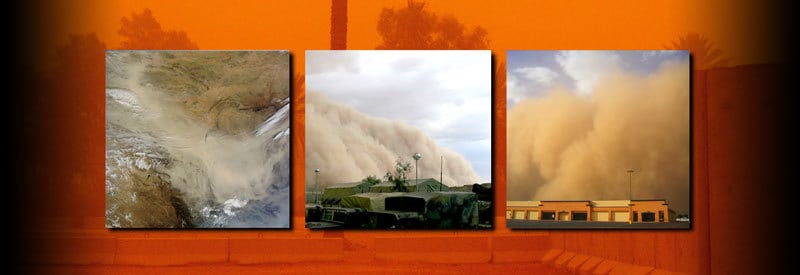
Dust Storms – What They Are And How They Develop Dust Storms – What They Are And How They Develop Readers residing in arid or semi-arid regions, which are characterized by loose, dry soil, will be very familiar with dust storms. However, this meteorological event...
by Wessel Wessels | Aug 29, 2019 | General
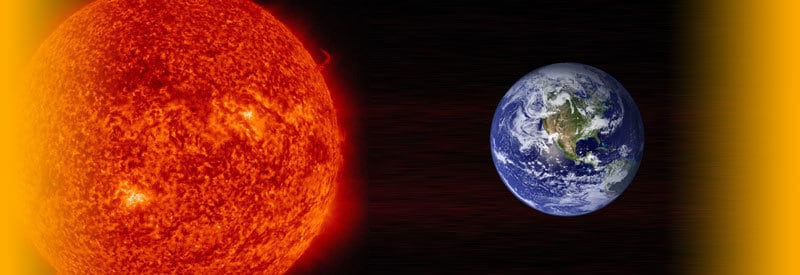
Solar Radiation – What It Is, How It Occurs, And The Different Types Of Radiation Solar Radiation – What It Is, How It Occurs, And The Different Types Of Radiation It would be safe to say that every reader knows what sunlight is, something we experience every day. The...